
As originally mentioned in a thread a long time ago, I decided to modify my '11 Kawasaki Ninja 1000. Beginning in the late fall of 2013 and continuing through spring of 2014 I replaced/modified/enhanced quite a bit :-). This was a terrific project that I had a lot of fun doing and I thought it might be fun to do a thread that lays out all of the modifications that were done, why they were done, what the end result was, and include some pictures. To start with here is the current measured performance and the list of major parts and modifications that were done.
Performance-
-HP (at the wheel): 147HP @ 11,500RPM; +100HP from 6,300RPM to cutoff
-Torque: 85.5lb-ft @ 7,900RPM; +74lb-ft from 4,300RPM to 10,200RPM
-Top Speed: redline limited, hits the limiter at GPS indicated 161MPH (on track)
-0-60MPH: kind of a worthless stat on a litre bike as controlling wheelies and wheelspin artificially constrains performance at a hard launch (it'll still do it in less than 2.5 secs). 60-80MPH roll-on (passing speeds) is probably a better real-world metric...top gear 60-80 <2.5 secs.
-Economy: believe it or not, it's better. I have the fueling mapped to have a leaner cruise when at low RPM and small throttle openings. On a recent trip I had no problem getting 45MPG or more cruising at 75-80MPH; on the track it's not as good :-).
Modifications-
Suspension:
-(rear) Ohlins adjustable shock with remote, Ohlins track spring, custom valved and sprung to spec
-(front) Traxxion Dynamics AK-20 Cartridges, Omni springs, custom valving, TD compression and rebound adjusters, pre-set sag, sprung to spec, Maxima Racing Fork Oil
Brakes:
-(rear) EBC HH pads, custom HEL stainless lines
-(front) ZX10R master cylinder, Vesrah pads, custom Hel stainless lines, racing fluid
Exhaust:
-Akrapovic titanium 4-2-1 full system
Engine:
-PowerCommander V with Autotune module
-Ivans Performance ECU, custom ecu load, Ivans airbox modification
-Fuel Cutoff Eliminator and Servo Eliminator
Driveline:
-Barnett Kevlar Clutch plates, HD springs
-RK 525 GXW Series Heavy Duty X'ring Chain
-Sunstar 41T rear sprocket, 16T front sprocket
Tires:
-Bridgestone S20 Evo Hypersport
-Dunlop RoadSmart2
Misc:
-Lots and lots of little things from fluids to fasteners to nuts and bolts, tail tidy, LED lights, etc.

The Original Miles-By-Motorcycle Group
established 11 years ago
You must be logged in and belong to this group to post to this forum.
The Exhaust...
The first major component changed was the exhaust. the factory exhaust is a 4-1-2 with a large collector and catalyst located under the bike, it is quite heavy and includes a number of things (like the motorized exhaust servo and air injection) that we won't be needing anymore.
After researching the systems available against my requirements/desires I decided on the Akrapovic Racing Line 4-2-1 system in titanium. this system weighs about 27lbs less than stock, with much higher flow rates and more highly tuned back pressures. changing from a 4-2 to a 4-1 was going to substantially change the look of the motorcycle and I was initially cautious about how it would look.
Installation was pretty straight forward after getting all of the stock equipment off of the bike. Akrapovic is a high end system and it really showed in the build quality and easy of installation. these guys are clearly welding gods LOL. Since adding this system was going to allow for a lot more engine breathing I was going to have to address fueling as well, that will be the next update - installing the Power Commander, autotune, and initial ECU changes.
Here's some pictures of the exhaust installation:
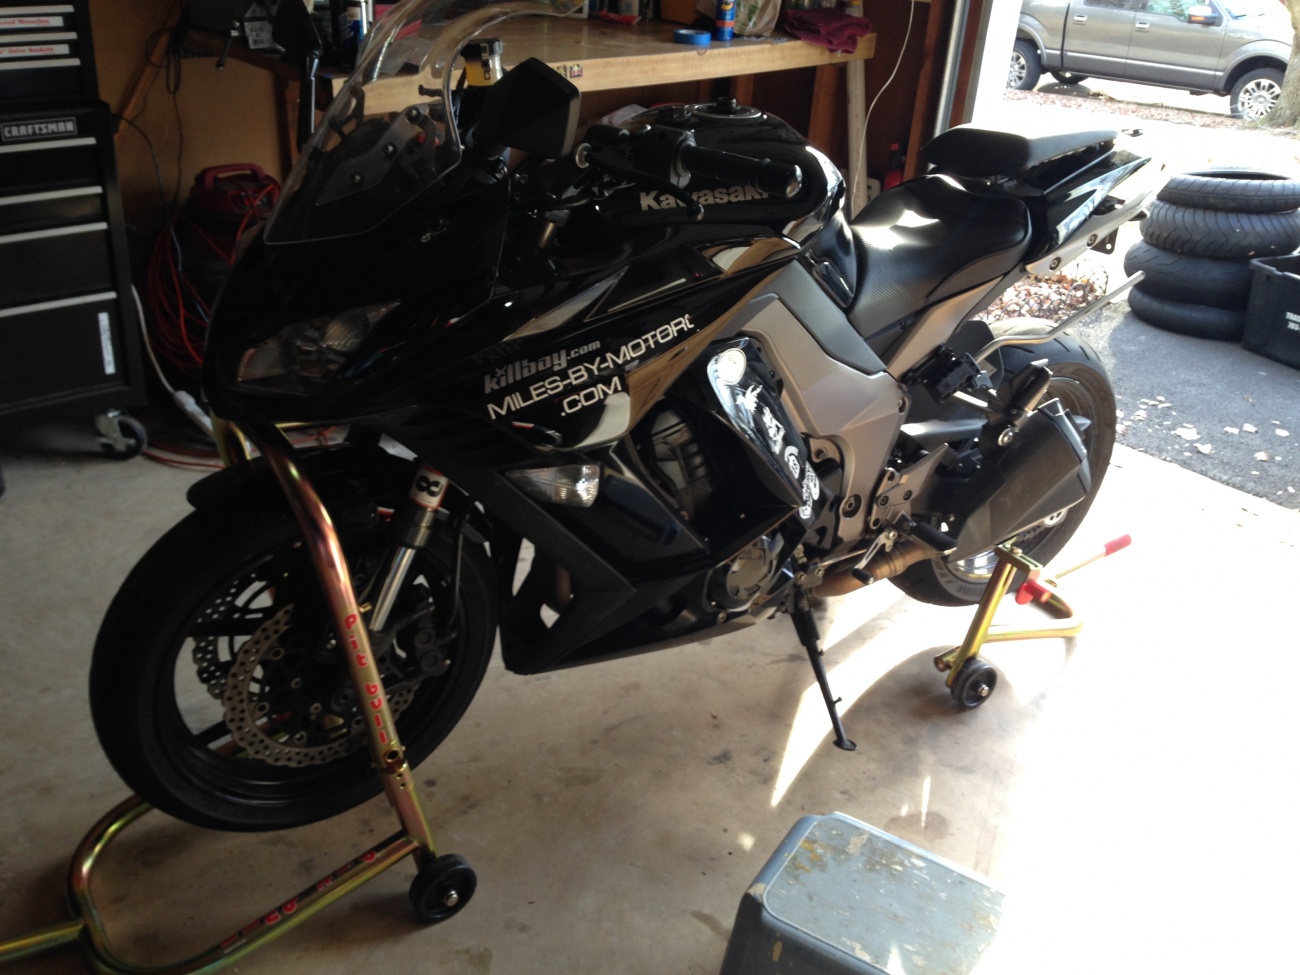
Prepping for surgery
Putting the Ninja up on stands to start the modification process. This started a 3-4 month long process that ended up including some wait times for parts here and there.
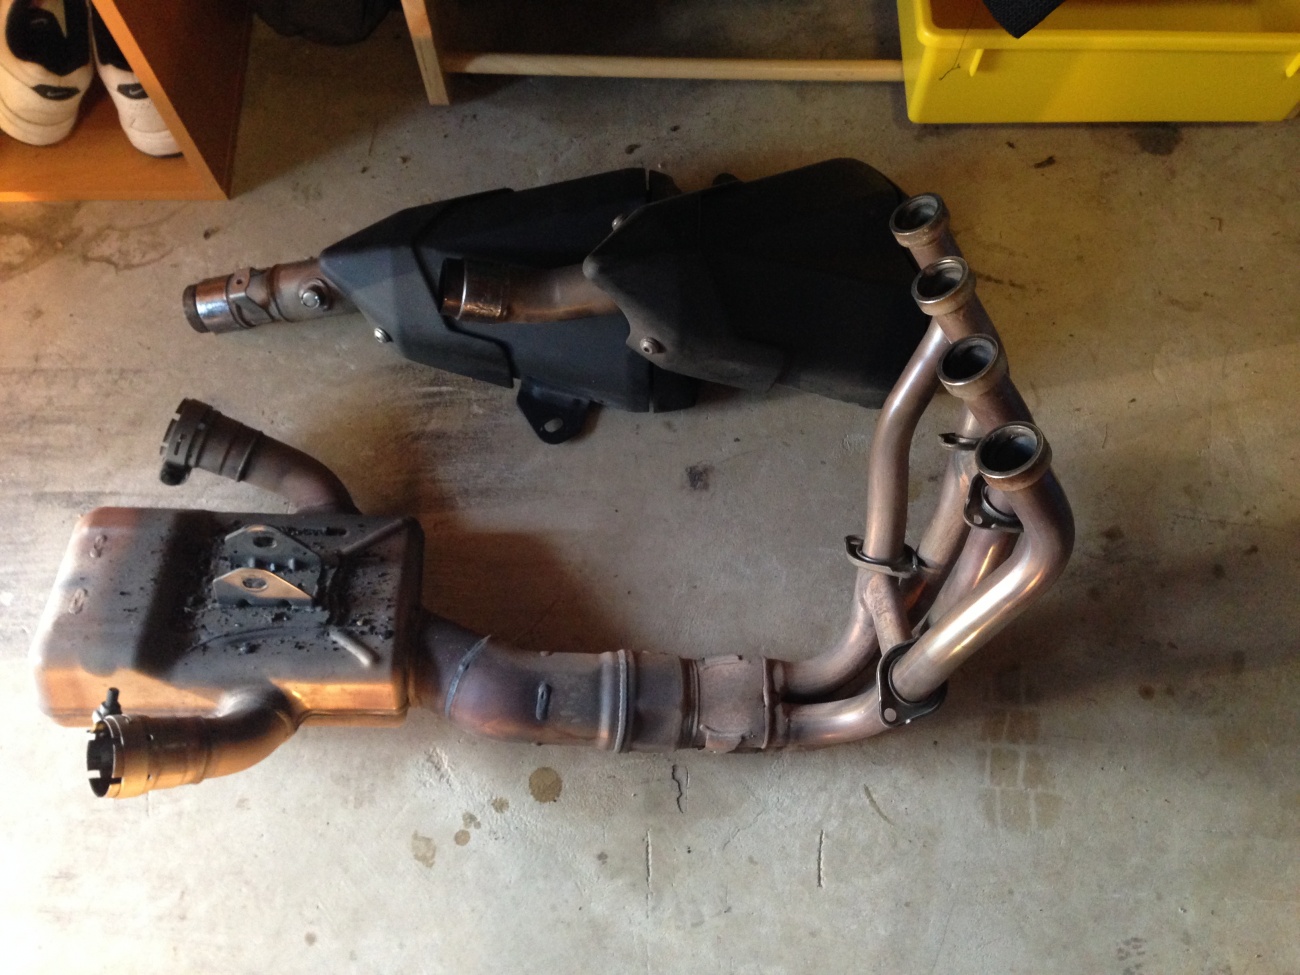
Stock exhaust system
This doesn't even include all of the servo components and cables etc. It was also surprising how much this weighed.
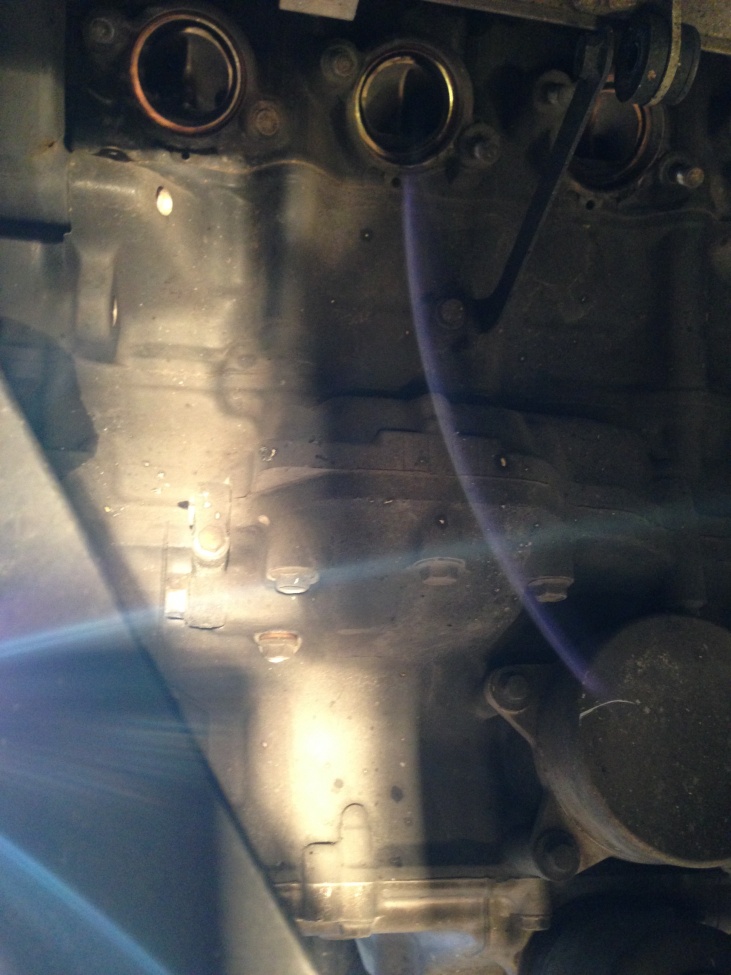
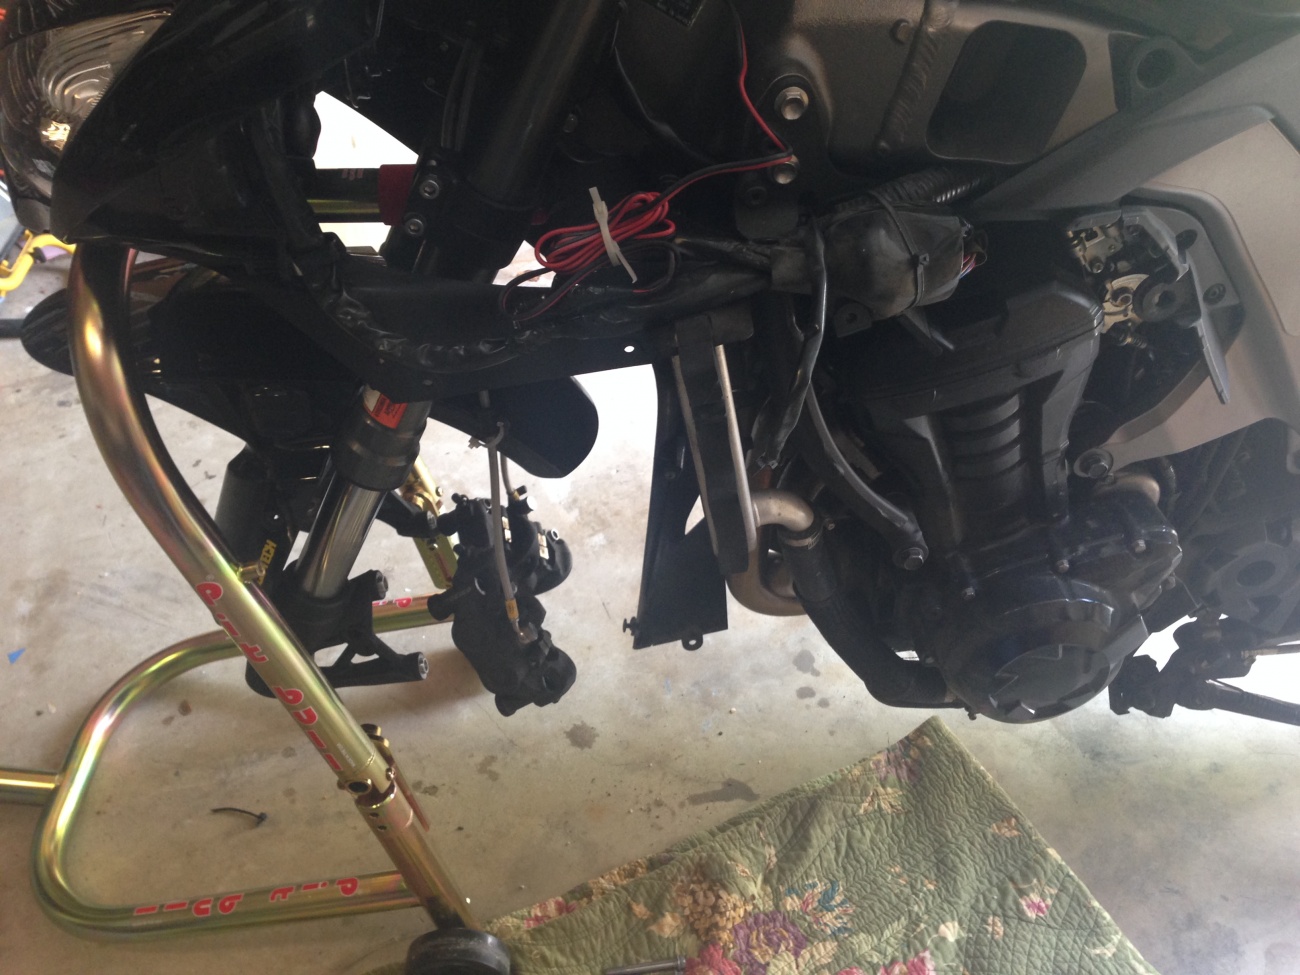
Front of engine
this is looking at the exhaust ports on the front of the engine. this is an area that pretty much never sees the light of day.
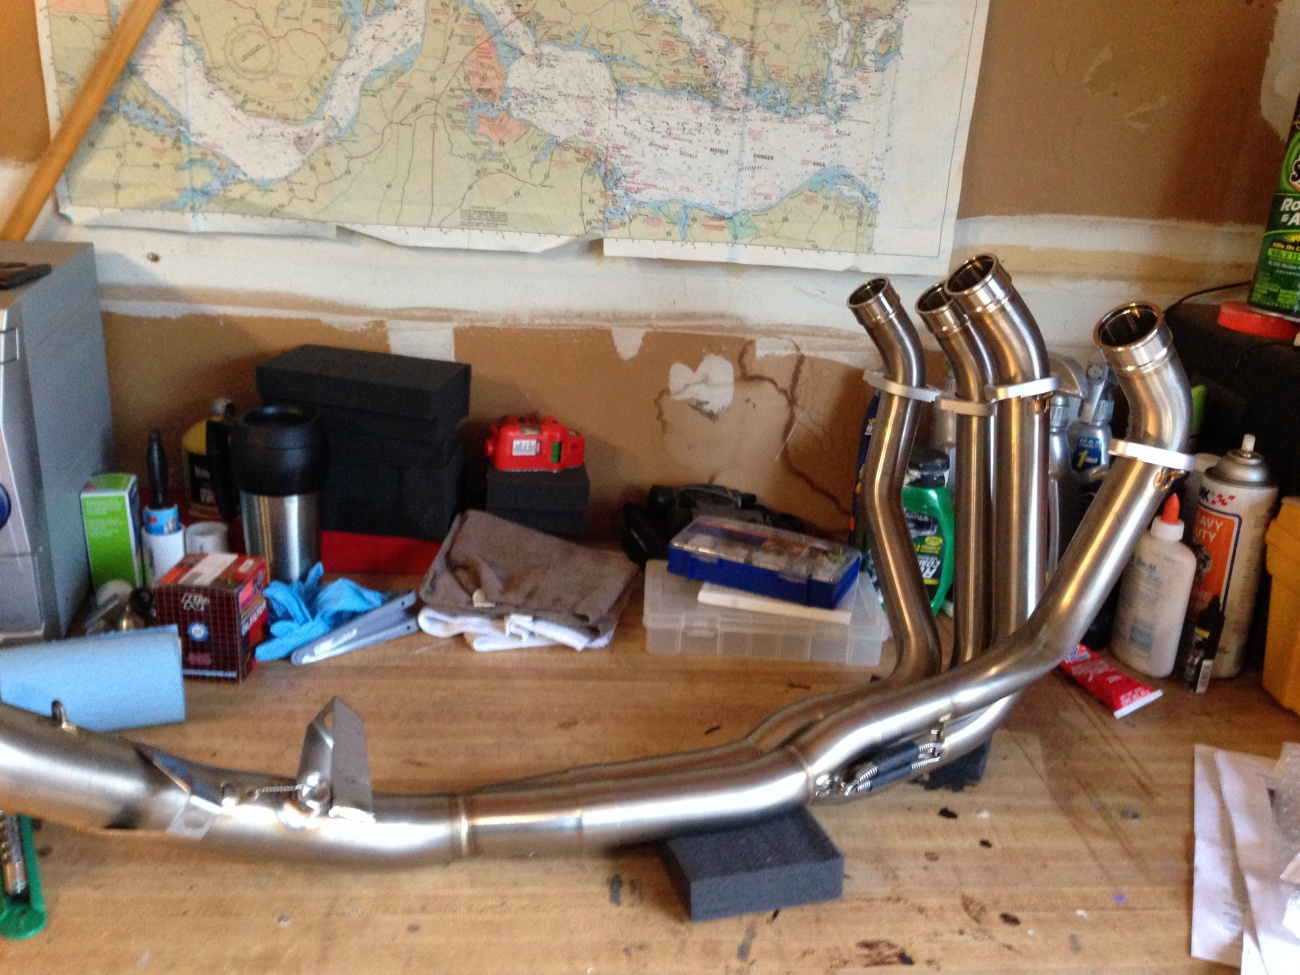
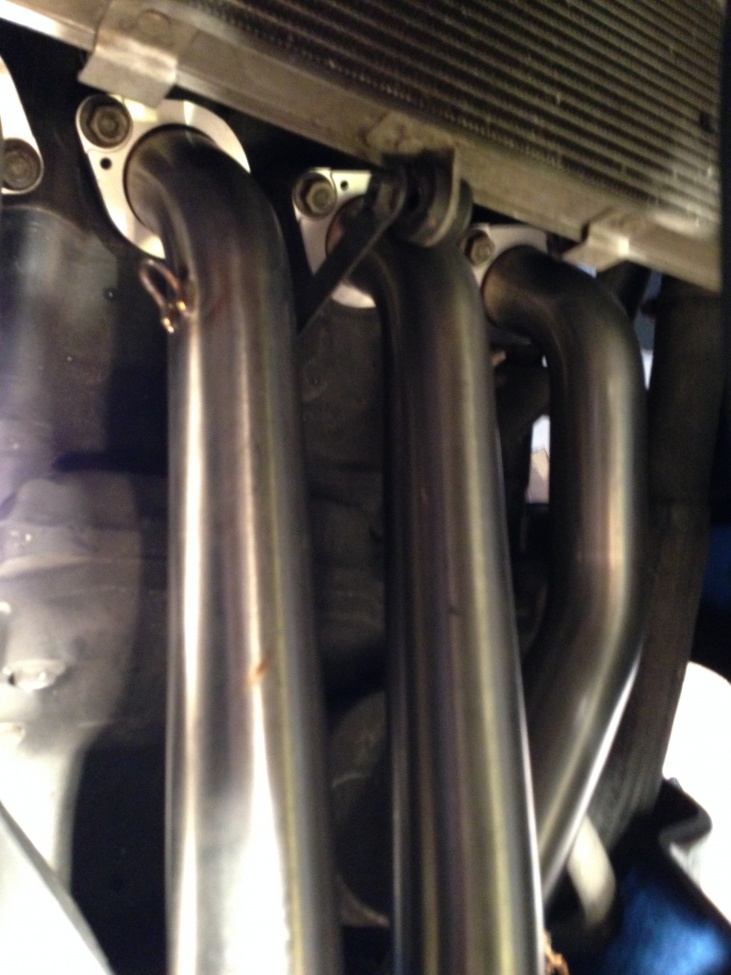
The new Akrapovic headers
Build quality on these systems in remarkable, and they're awfully pretty 
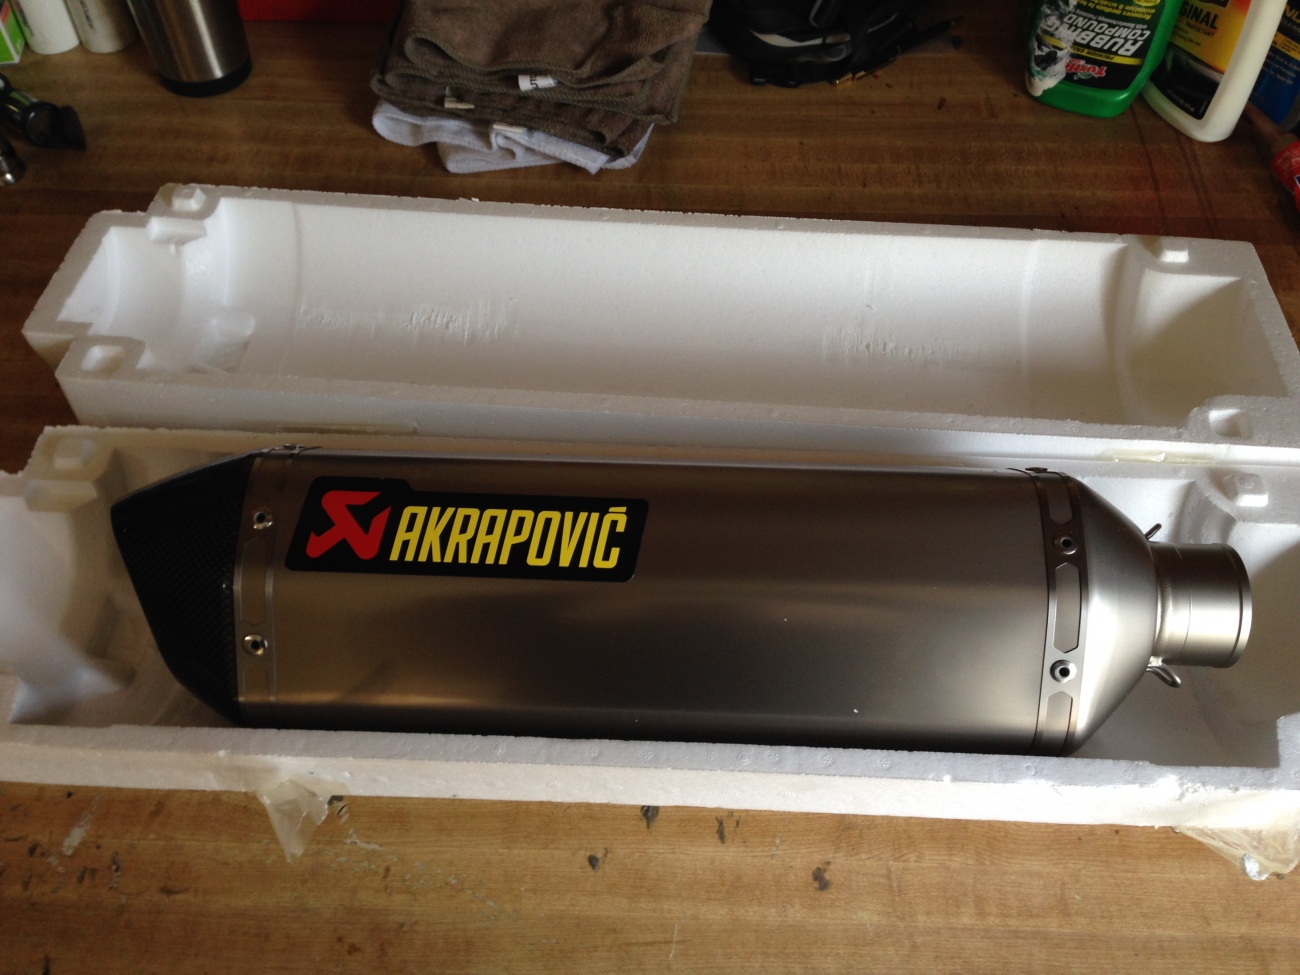
Titanium end can
This is an all titanium end can unit for the exhaust. It weighs basically nothing and has a removable db killer insert.

Initial fitting
Getting everything together and checking for fit before attaching all the springs and collars.

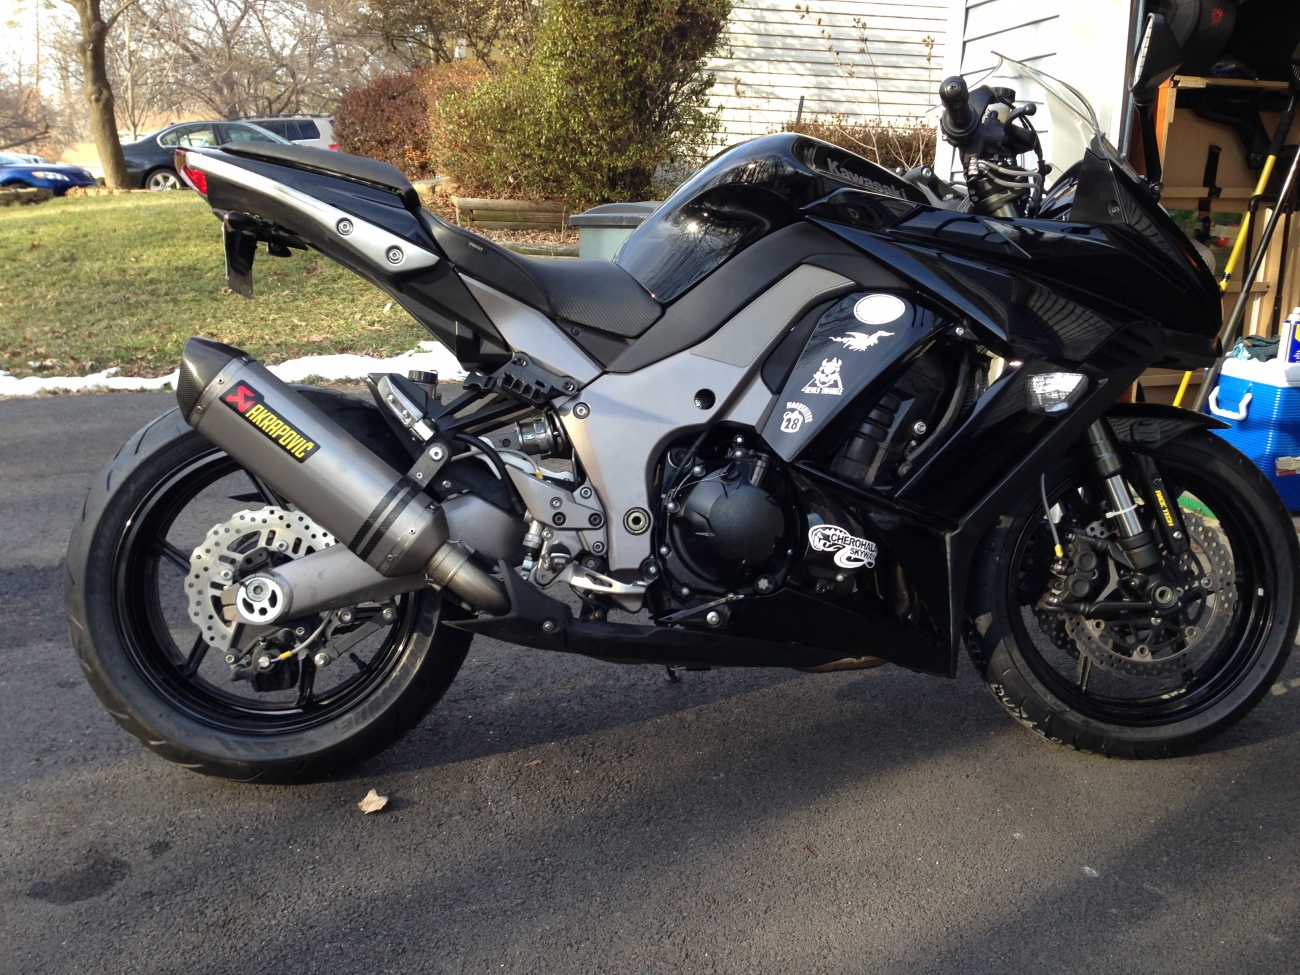
Installed - right side
this is with the new exhaust fully installed. You can see a couple of other things have changed as well, but we'll address those in a later post.
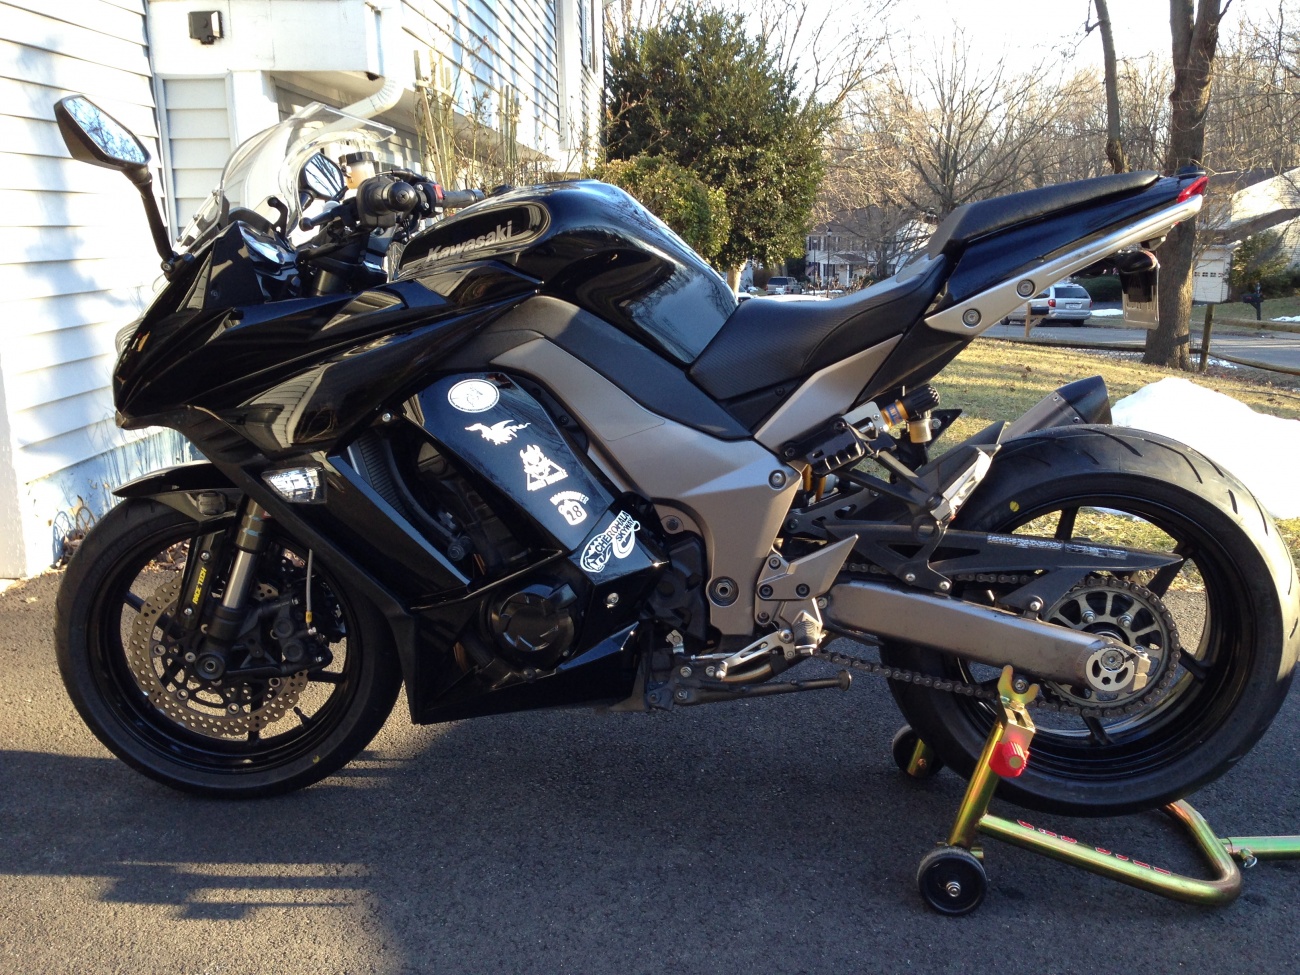
Installed - left side
The difference is pretty stark now that all of the stock exhaust is removed, it really lightens the look of the bike.
Next up is the engine and fueling. With the exhaust no much more free flowing I had to alter the fuel injection to compensate. Instead of spending a considerable amount of time dyno tuning, and because I wasn't sure yet what other things might be done, I decided to install an Autotune module along with the Power Commander. The autotune connects to the ECU, the Power Commander, and to an O2 sensor mounted in the exhaust collector to measure the fuel/air ratio in real-time, and then change fueling on the fly. While in there I also changed plugs, installed a K&N air filter, modified the airbox, removed the clean air injection system, installed block off plates, and rerouted wiring. the PC5 software lets me set the specific fuel/air ratio for each RPM and throttle position (and can even set it per gear), along with some other dangerous to play with things. I also installed a custom ECU from Ivan's Rockland County Cycles performance shop. the new ECU has a higher redline, changes the timing in the first three gears, and alters certain engine management functions for smoother response and tuneable engine braking characteristics.


Supervision
I had a very focused supervisor for the tricky engine work
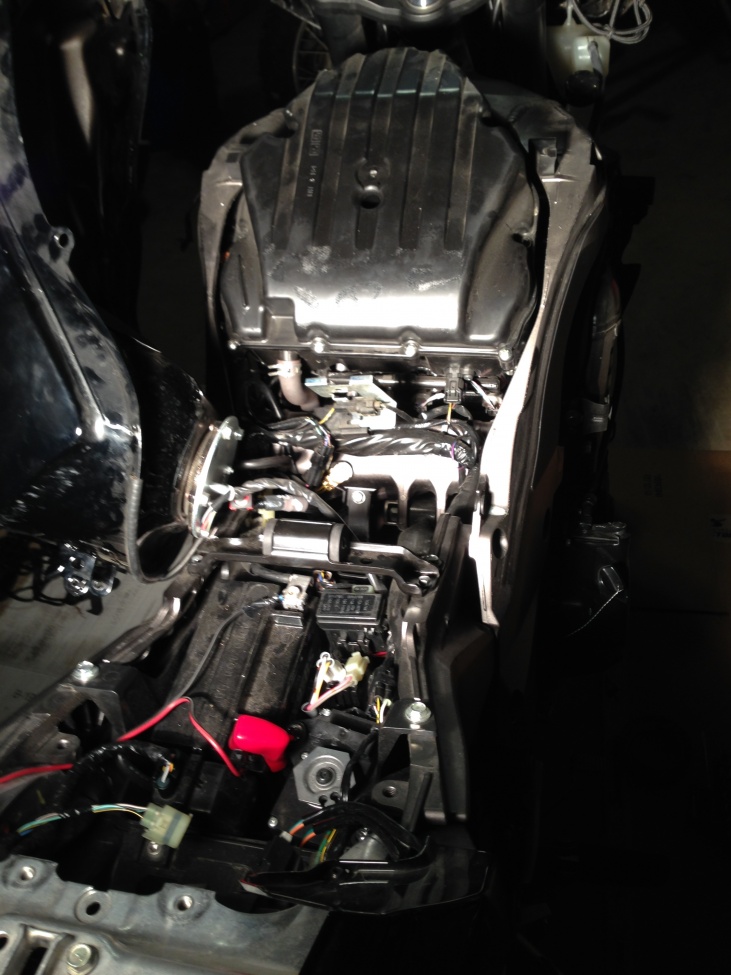
Ninja guts
The fuel injectors are down in there somewhere, access is very tight. the large expanse of black plastic at the top of the pic is the cover of the airbox.
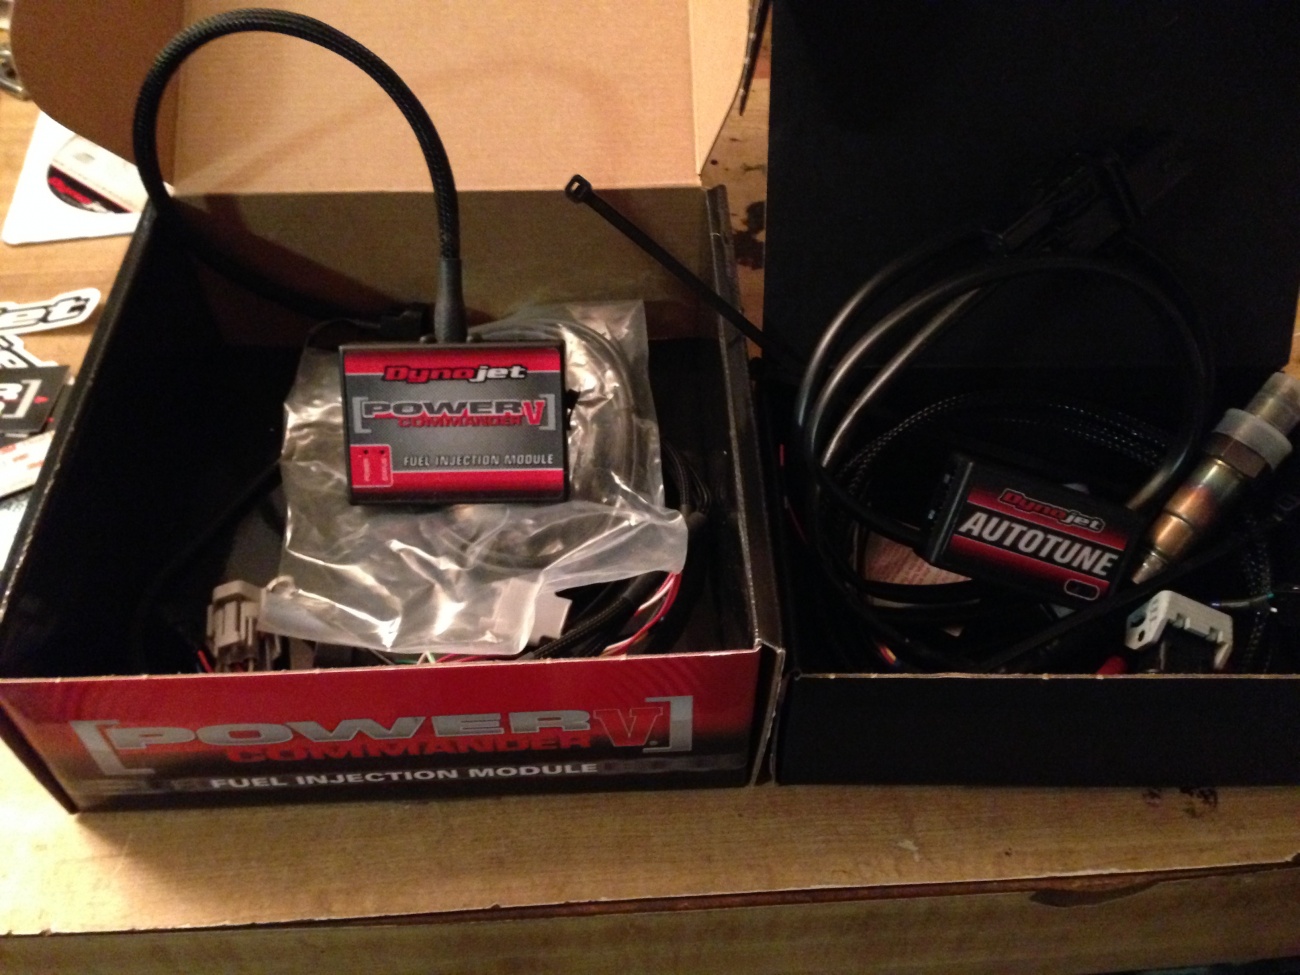
Power Commander 5
Ready for installation, a Power Commander 5, autotune module, and O2 sensor
PC5 installed
this is looking down into the bike's waist. The batter is top center, the PC5 is bottom center, the Autotune is piggyback on the PC5 (you can just make out the USB port and USB cable coming out of the PC5). The ECU is just off screen to the left, you can see some of the connectors at the left edge.
Laptop mechanics
Doing the initial setup with the PC5 software, running at a high idle at the moment. I remember when using a voltmeter was applying technology to mechanics
To quote Yermo - "damn". What an undertaking! I'm impressed that you were able to keep the engine so user-friendly and also have the mileage be so good after all that - probably attributable to the quality supervision. Seems like most projects that involve exhaust and fueling changes significantly increase fuel consumption. Good on ya!
"The suspension"... or ... "How to spend real money quickly"
I knew I was going to make considerable changes to the suspension, not because the stock equipment was bad but because I was looking for a particular feel. In stock form it could be a bit harsh at the back and front end feel was sometimes a little lacking. I investigated a number of options and initially decided on either the Pensky or Ohlins for the rear, and RaceTech for the front. all three have great reputations and would prove to be high quality. The final decision for the rear shock was an economics choice. I consulted with a number of very knowledgeable folks who had already done a lot of mod work on this specific bike and the consensus was to spend more on the front, that it was more sensitive to front end work than rear and that any high quality shock would be fine. Based on that I went with the Ohlins setup as it was about $700 less than the Pensky. I then rebuilt the front forks completely with RaceTech valves (both compression and rebound), RaceTech springs, fluids, etc. And then didn't like it. the RaceTech components were high quality but it gave a very stiff ride, I lost some travel, and I didn't think the dampening was where I wanted it to be. You'll note that there aren't any pics of doing the RaceTech work, only a sticker is seen in some of the pics. The reason? I went all out and ordered a set of custom AK-20 fork cartridges from Traxxion Dynamics. I entirely gutted the forks and replaced all of the internals with the custom AK-20s and Omni springs. this is what I should have done from the start as they are simply fantastic. Expensive yes, but amazing. The bike now has a very plush ride, and yet also has complete control with massive amounts of feedback and lots of adjustability.
I knew I was going to make considerable changes to the suspension, not because the stock equipment was bad but because I was looking for a particular feel. In stock form it could be a bit harsh at the back and front end feel was sometimes a little lacking. I investigated a number of options and initially decided on either the Pensky or Ohlins for the rear, and RaceTech for the front. all three have great reputations and would prove to be high quality. The final decision for the rear shock was an economics choice. I consulted with a number of very knowledgeable folks who had already done a lot of mod work on this specific bike and the consensus was to spend more on the front, that it was more sensitive to front end work than rear and that any high quality shock would be fine. Based on that I went with the Ohlins setup as it was about $700 less than the Pensky. I then rebuilt the front forks completely with RaceTech valves (both compression and rebound), RaceTech springs, fluids, etc. And then didn't like it. the RaceTech components were high quality but it gave a very stiff ride, I lost some travel, and I didn't think the dampening was where I wanted it to be. You'll note that there aren't any pics of doing the RaceTech work, only a sticker is seen in some of the pics. The reason? I went all out and ordered a set of custom AK-20 fork cartridges from Traxxion Dynamics. I entirely gutted the forks and replaced all of the internals with the custom AK-20s and Omni springs. this is what I should have done from the start as they are simply fantastic. Expensive yes, but amazing. The bike now has a very plush ride, and yet also has complete control with massive amounts of feedback and lots of adjustability.
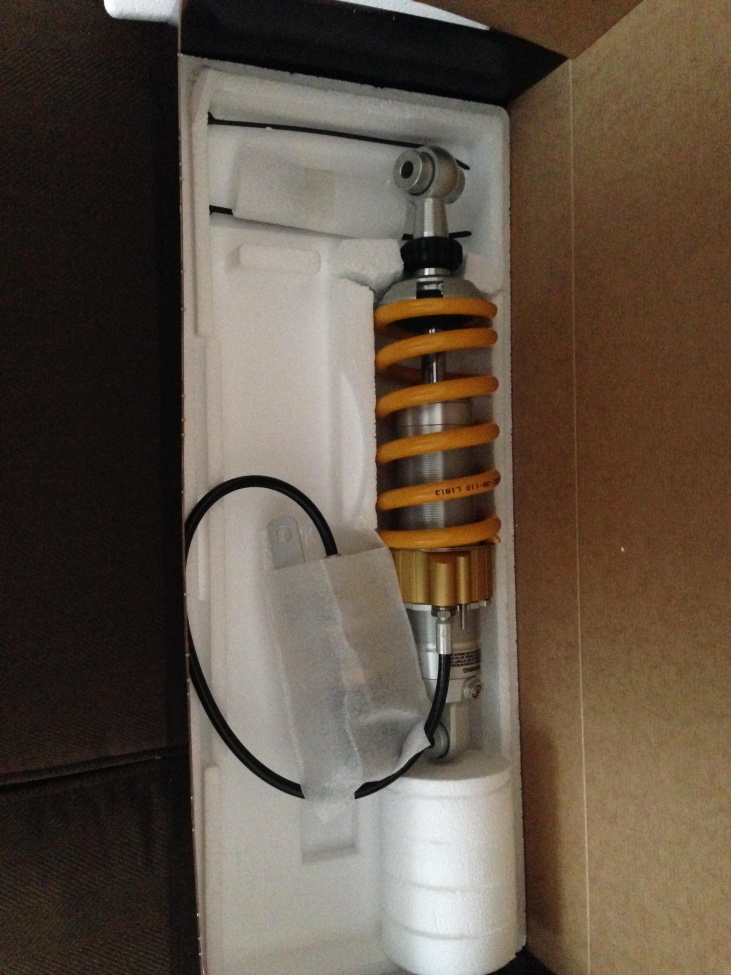
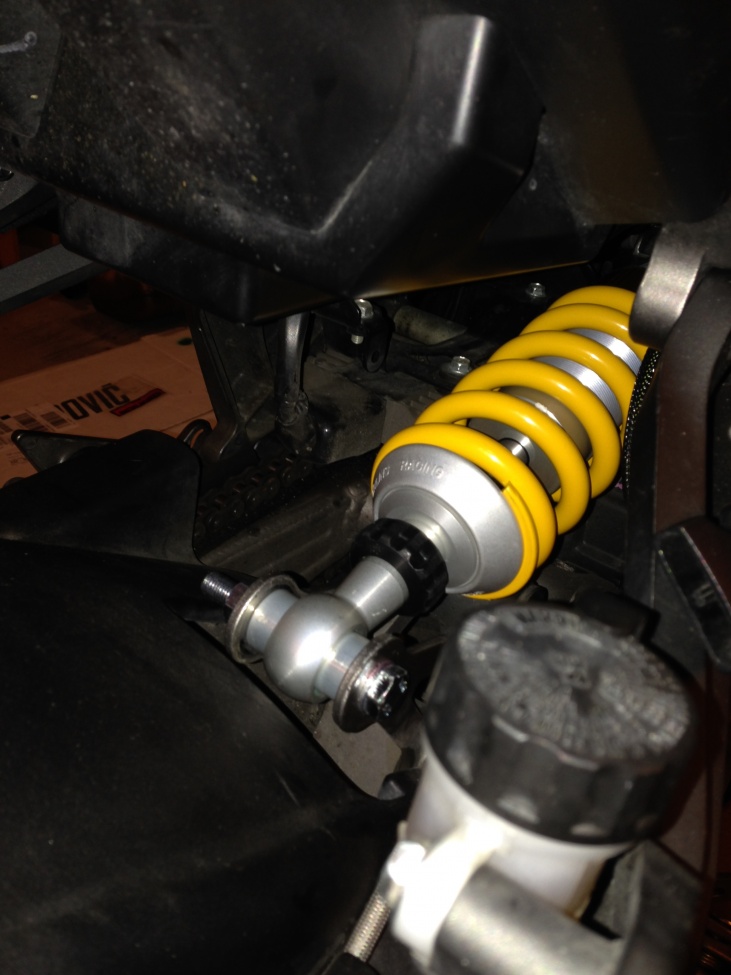
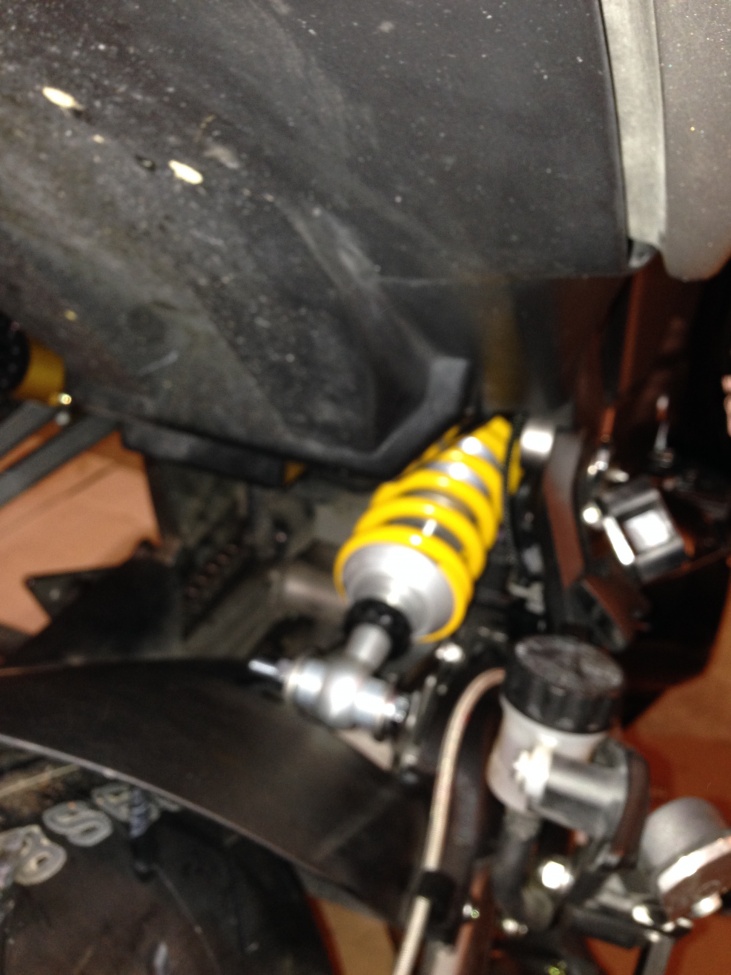
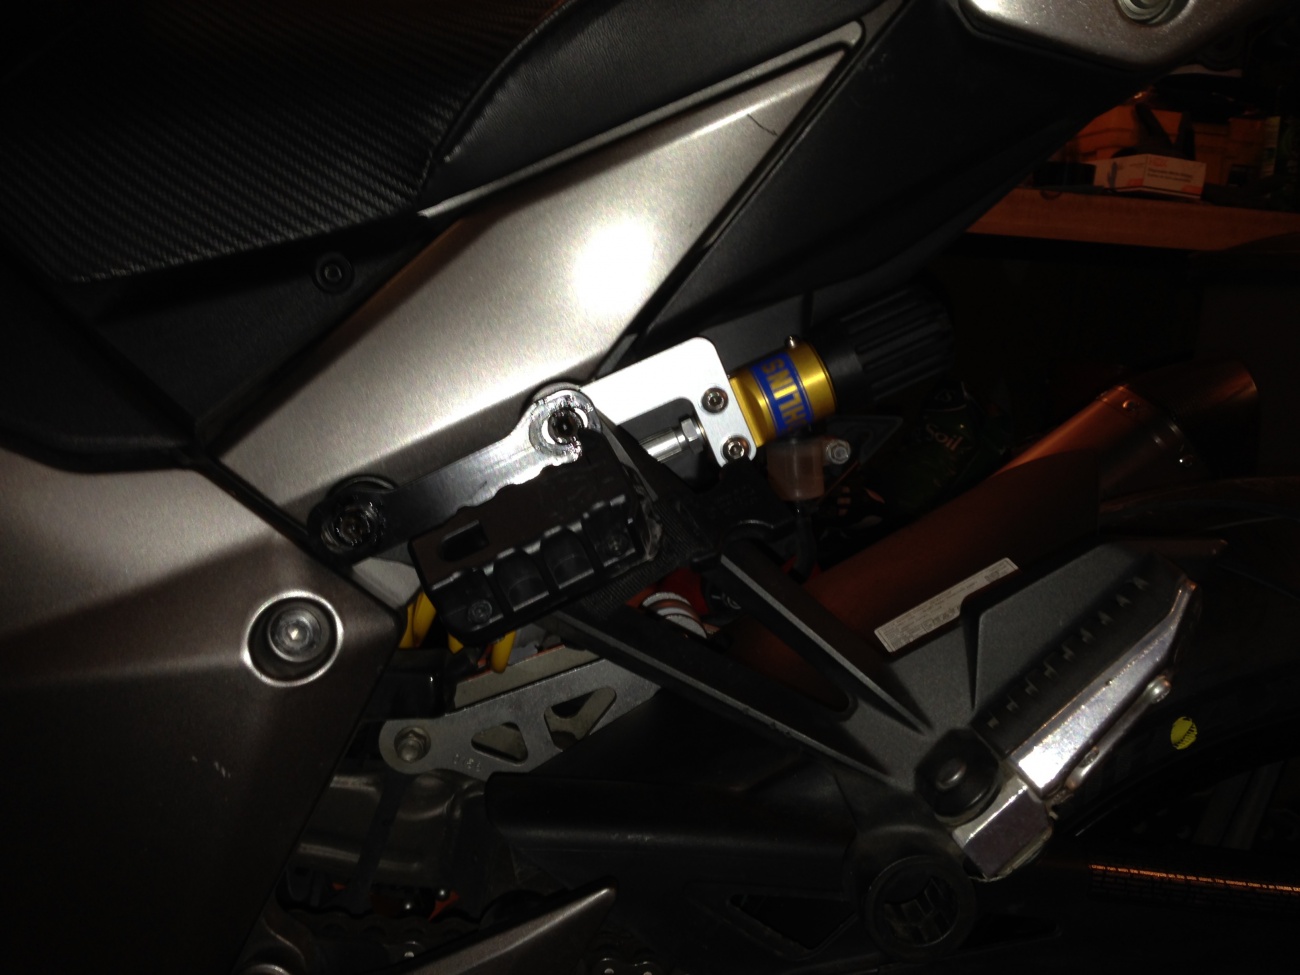
Ohlins rear
This was one of the long wait time items, it took about 4 weeks to get from Ohlins NA and has custom valving and springs.
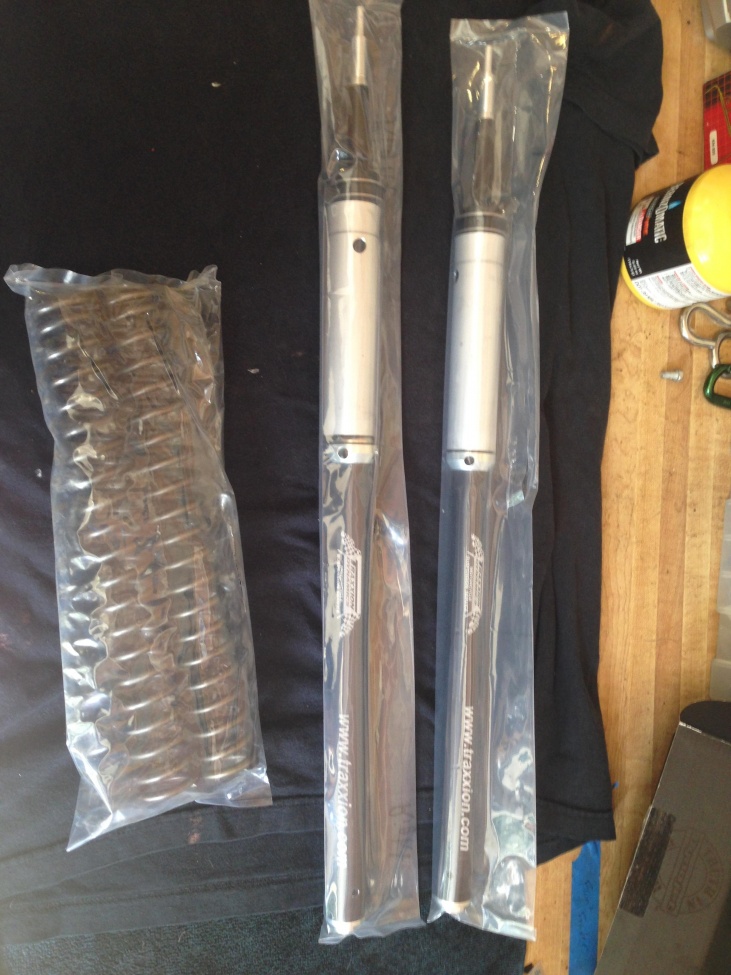
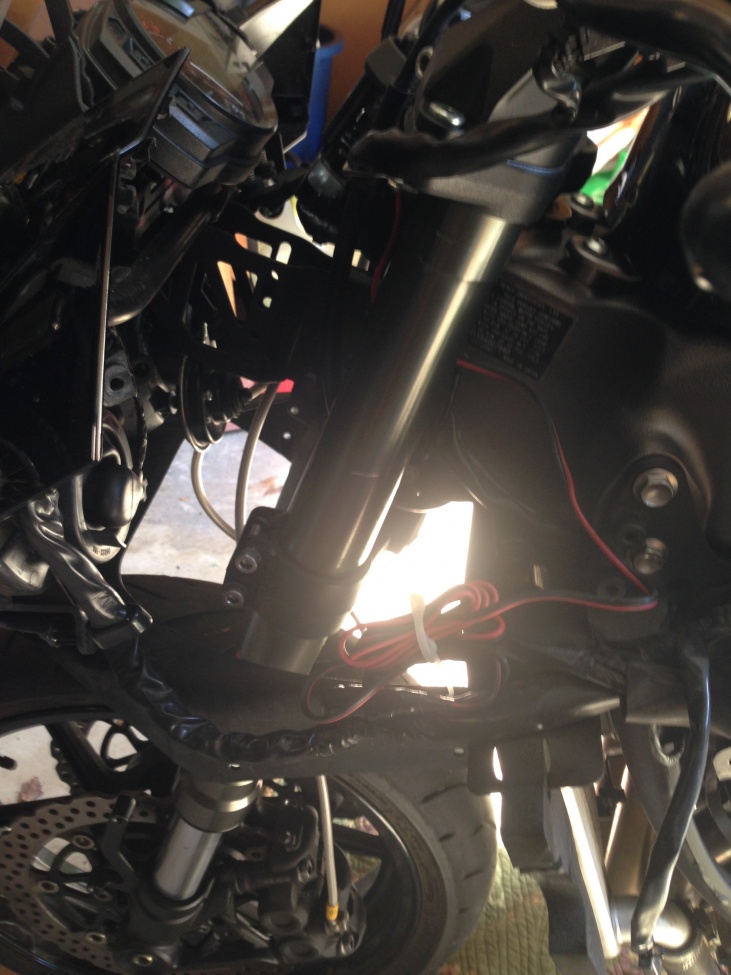
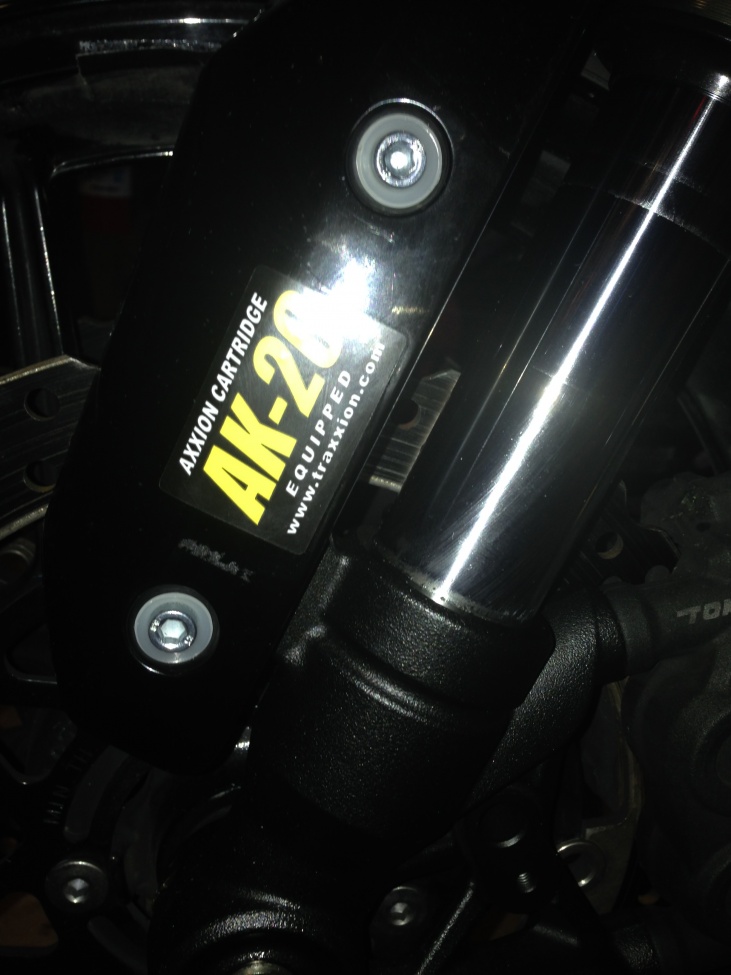
AK-20 Cartridge kit
These are the AK-20 cartridges and Omni springs from Traxxion dynamics. these were custom built with specific valving, new rebound and compression adjusters, and pre-set sag.
Brakes while in there
While I had everything apart for the suspension work I did the brakes. New ZX10R master, new pads, etc. I had already installed the custom HEL lines.
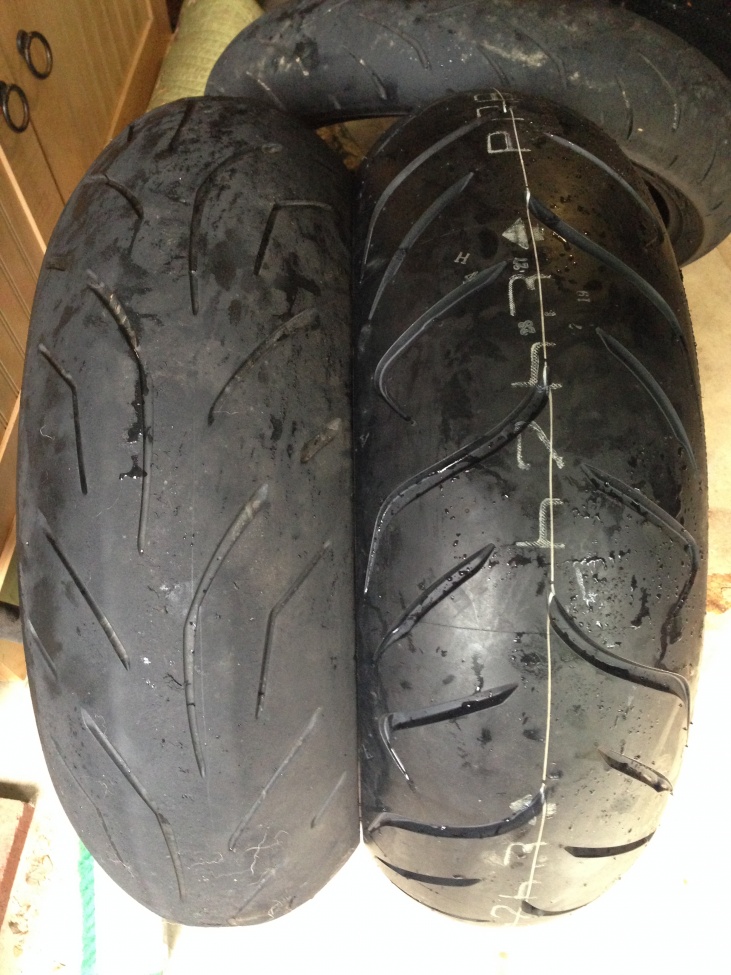
New tires
I decided to also try some new tires. Some riding/racing froends from Europe said to try the Dunlop RoadSmart 2 as they have great experience with them. I was told they would have double the life (or more) of the Q3/S20/PP and similar grip levels. They were right, these tires are great. Different profile and it took a couple of miles to get used to but now wouldn't trade them.
... that you were able to keep the engine so user-friendly and also have the mileage be so good after all that
 Ianit's mostly down to being able to set specific fuel/air ratios, being able to run leaner in low throttle cruise for better mileage and richer in large throttle openings for smooth responsiveness. the custom ECU work also plays a big role in it. I remember tuning bikes in the 80's and going through carb jets, intake lengths, and timing changes trying to get a good balance
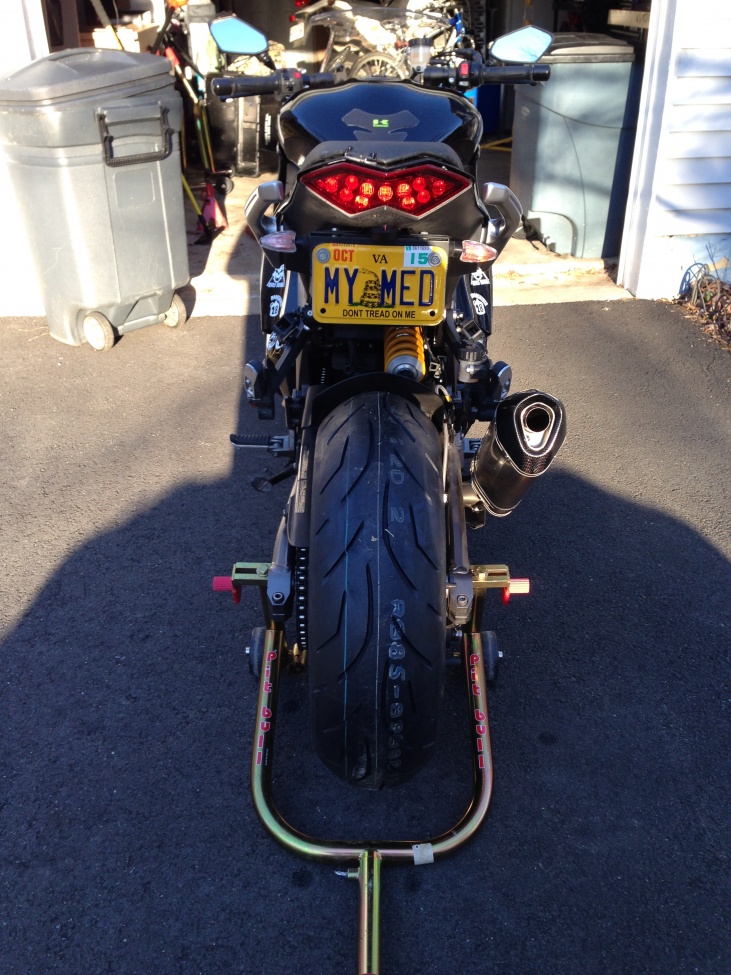
 The completed bike on its first long ride (8 days, 6 states). Everything worked flawlessly and the performance was amazing.
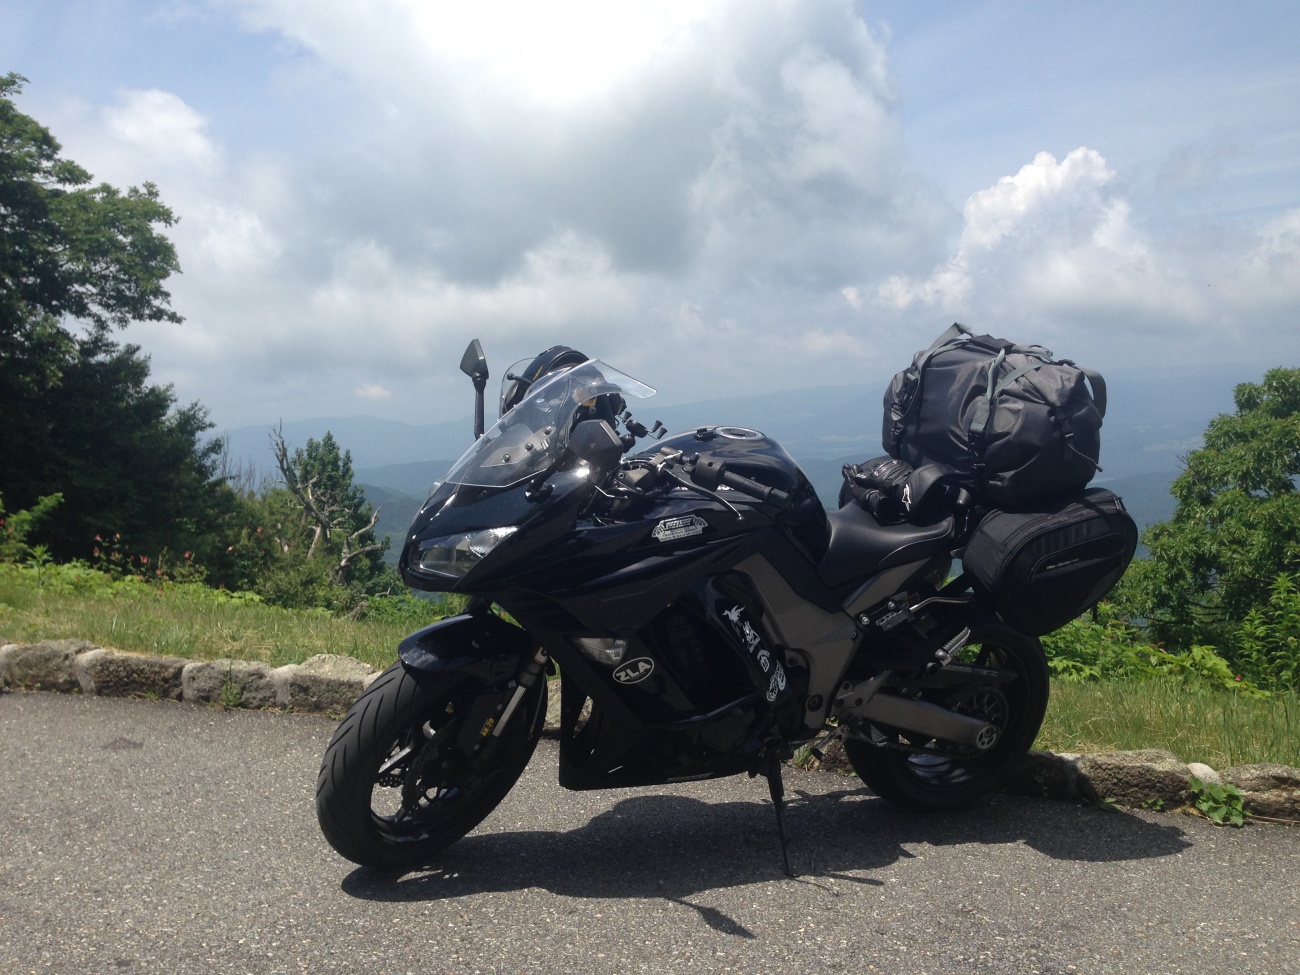
N1K - full mod
Taken on the southern leg of the Blue Ridge Parkway (that's a waterproof Givi 40litre bag on the bag, pretty awesome)
Congratulations on a successful project. That was a serious amount of work. Thank you for taking so much time to share it with us.
 Yermo, thanks and of course - happy to. I'm sorry I don't have a lot of pics of rebuilding the forks, that would have been interesting. As I did the work myself - as in by myself as well - it was hard to get pics while juggling small, oily, expensive parts :-). I'll try and remember to have someone take pics the next time I disassemble the forks. The total wrenching time was probably 20ish hours, spread over three sprints. There was some delay time for some of the parts that added to it as well. the total cost was... ugh, not worth thinking about LOL.Yermo As you have ridden the N1K when it was stock you'll appreciate this interesting physical side effect... the seat height is increased by about an inch. It's now pretty tall. This makes for great ground clearance (dragging toes now requires real commitment) and quicker steering but also I am now truly on tip toes LOL. The added height is due to the suspension changes; mostly the slightly longer rear shock and linkage. Overall the bike is actually canted forward just a bit more, combination of higher rear and sliding the forks 5mm up in the triple clamp. That's one of the little detail things that was done in setup.
A sharp eyed reader pointed out that the somewhat thrashed tire in picture number 10252 looks a lot like the brand new tire seen in picture 10253 (the last two pictures in the "suspension" section above and added again below. they are, in fact, one and the same. I put on brand new S20s after installing the exhaust, most of the engine mods, the rear suspension, and the first front suspension - the RaceTech setup. I then did a few rides to WV and did several laps of Fort Valley to test the new setup. In the second picture you see the S20 rear after 2,000 miles (over about 6 weeks) next to the brand new RoadSmart 2. I'll maybe do a separate tire thread and add pics of the RoadSmart at the same mileage so you can see what they look like as well as a review of each. You can see from the "chicken strips" that the testing was pretty thorough :-).

